Guitar Frets Too Low? Guide to Fret Level and Refrets
You know how it goes – you’re playing your guitar, and suddenly, your chords buzz more than a bee in a jar. A classic sign that your frets might be too low. Low frets don’t just mess with your sound; they can distract your tuning and make playing a chore. In this post I’ll zoom in what you can do about it.
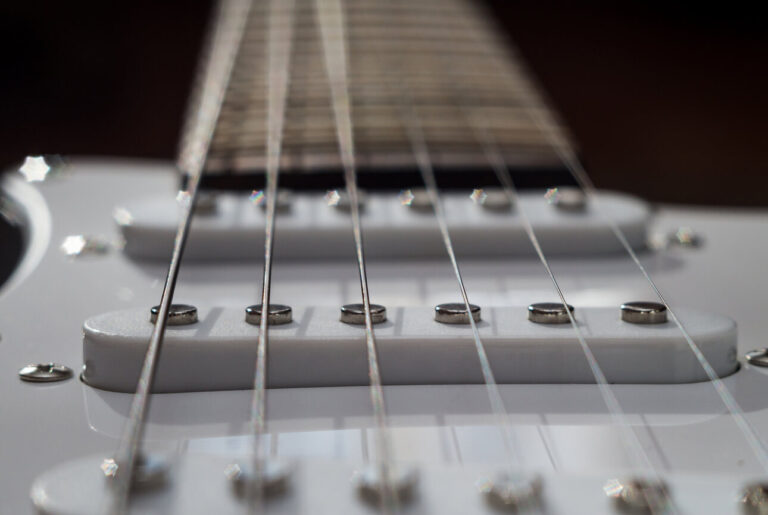
So, what’s a fret, and why should you care? Frets are the metal speed bumps on your guitar’s neck. You get the buzz-kill when they’re worn down or not set right.
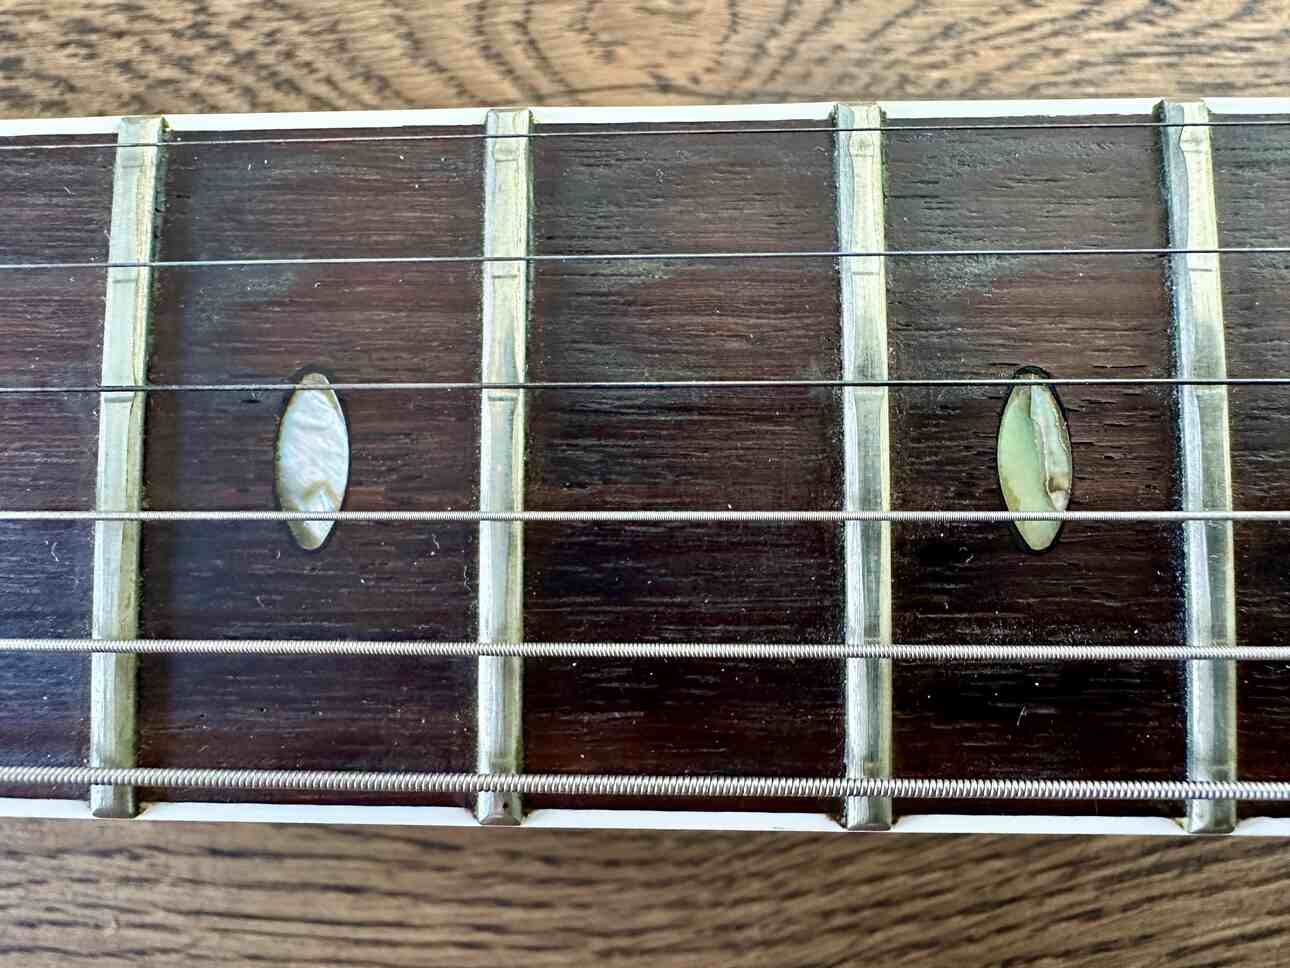
Spotting low frets is step one. You’ve got to glace over your guitar neck and see if any frets look shy, not reaching up as high as their neighbors. This can happen from rocking out too hard over the years, a hiccup when they made your guitar, or even just the wood reacting to a dry spell.
So you’ve got low frets – now what? If you’re handy, you might be able to give them a little boost yourself. But sometimes, you need to call in the pros. They have the tools and know-how to get those frets back in fighting shape so your guitar can go from a buzzing mess to a smooth operator.
Remember, keep an eye on your frets and they’ll make sure your tunes stay on point.
Key Takeaways
- Know Your Frets: It’s key to understand what frets do. They’re the metal strips on your guitar neck that ensure each note plays nice and clear. Spotting when they’re too low is step one to fixing your sound;
- Buzzing’s a Bad Sign: When your guitar sounds like it’s got a cold, with all that buzzing, it’s often those low or uneven frets causing trouble. It can throw your groove off and make playing like a bumpy road;
- Upkeep is King: Like keeping your car oiled, regular check-ups on your frets keep your guitar’s sound smooth. And when things look grim, don’t be shy to visit a guitar doctor. They’ll sort out those frets and get you back to playing with ease and precision.
Spotting Low Frets on Your Guitar
Signs of Uneven Frets
Low or uneven frets can alter your sound quality when playing your axe. Therefore, keep an eye out for these red flags:
- Fret buzz: Jamming on your guitar and hearing that annoying buzz? That’s fret buzz. It’s what happens when your strings and frets get too cozy, causing a rattle that can mess with your sound;
- Inconsistent intonations: Ever tuned up perfectly, but your chords still sound wonky? You might be dealing with uneven frets. They can throw your intonation out of whack, making even the best-tuned guitar sound sour;
- String action: if you feel like you’re pressing down harder than usual or the strings seem to be hugging the frets too closely, it’s a heads-up that your frets might not be as even as they should be.
Tools for Diagnosing Fret Problems
Tackling Uneven or Low Frets: DIY Inspection Tools
- Fret Rocker: Do you have a hunch your frets are out of whack? Grab a fret rocker. It’s like a mini straightedge that tells you if a fret is too high or low by rocking back and forth over three frets at a time;
- Fret Leveling Beam: If a fret sticks out like a sore thumb, a fret leveling beam is your go-to. It’s a simple tool that sands down the high spots, ensuring all your frets play fairly;
- Straightedge: Sometimes, all you need is an excellent old straightedge. It’s like a ruler that you lay down on the neck to see if everything’s straight or if your neck’s got some unwanted curves.
Using these tools is a breeze. Just get your guitar on a flat surface, slacken those strings, and let the straightedge tell you what’s up with your neck. Spot a problem? The fret rocker and leveling beam are your fix-it pals. Get on top of these fret issues, and you’ll keep your guitar sounding sweet and playing sharp.
Fret Anatomy and Function
Fret Wire Types and Materials
Guitar frets come in diverse materials, each with specific characteristics. Common materials for fret wires are nickel-silver, stainless steel, and brass. Here’s what you need to know about each:
- Nickel-silver: Frets hold up well against wear and keep a slick surface;
- Stainless steel: Frets stand out for their long-lasting nature and ability to fend off rust and wear;
- Brass frets: Though not as hardy, they are preferred for the mellow sound they produce.
Selecting the right fret wire material can significantly influence the feel and sound of your guitar. So, test different materials.
The Impact of Fret Wear on Guitar Performance
Playing your guitar naturally leads to frets wearing down, which can seriously affect how your guitar sounds and plays. As you keep using your guitar, the strings pressing against the frets can make them lower, and this can cause a couple of big problems:
1. Intonation trouble: As frets wear, the place where the strings touch the frets moves toward the bridge. This can make notes sound too sharp or too flat, and you might find yourself tuning your guitar over and over;
2. Buzzing: If frets get too worn, your strings might touch the frets next to them when you play. This can cause a buzzing noise that’s pretty annoying and messes with the quality of your sound.
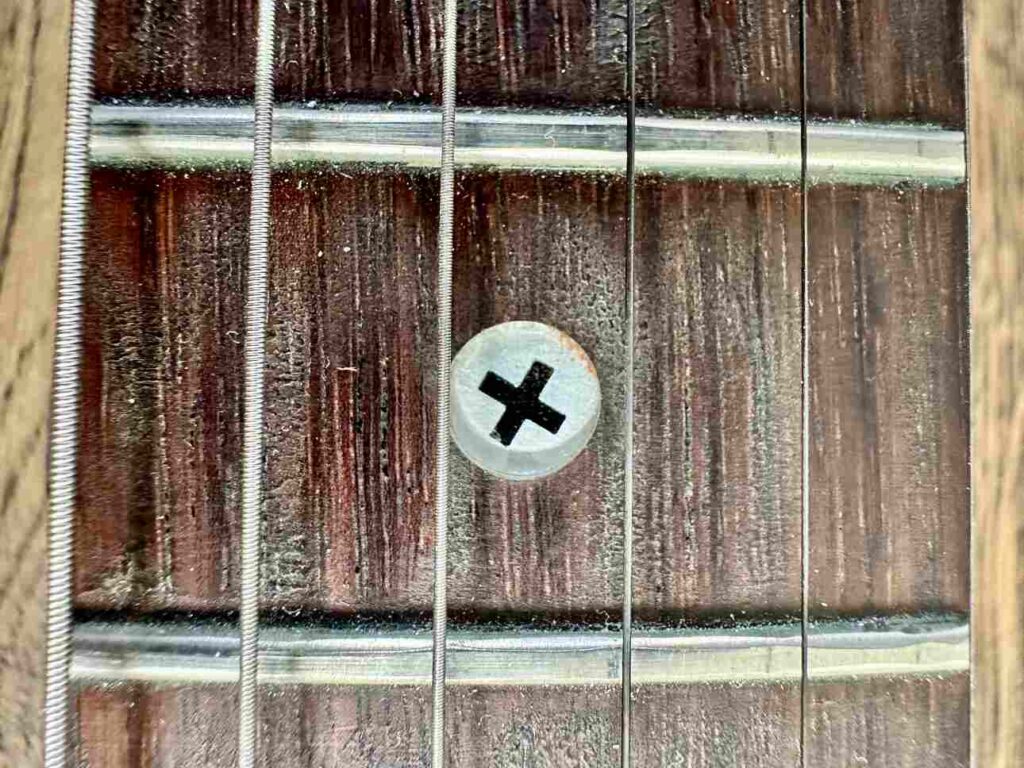
To keep your guitar in good shape, you should regularly check your frets for signs of wear, like dents or a flat surface. If you spot any issues, it’s a good idea to talk to a professional luthier.
Fixing Uneven Frets
Low and uneven frets on your guitar can cause buzzing, intonation issues, and an unpleasant playing experience. Below, I’ll discuss a few ways to fix this and make your guitar playable again.
Leveling the Frets
When you have low and uneven frets, the initial fix is to level them all to the same height. A leveling beam or a long sanding block will do the trick.
Begin by slackening the strings and laying a straight edge across the frets to spot which ones are sticking up. Then, carefully sand those higher frets down to match their neighbors.
Keep an eye on your progress with the straight edge to make sure you’re achieving a flat plane across all frets. Take your time and proceed with care, as it’s crucial not to sand away too much material.
Crowning and Polishing Frets
After you’ve leveled the frets, the following steps are crowning and polishing. Crowning reshapes the fret tops to a rounded profile, essential for accurate intonation and reducing string wear. Use a fret crowning or triangle file, and carefully round off the fret tops to a smooth arc. Work slowly and keep a steady hand to avoid damage to the frets or the fretboard.
Once crowning is done, it’s time to polish the frets to a smooth, glossy finish. Protect your fretboard first by taping it off, exposing only the frets.
Begin with coarser sandpaper or steel wool and move to finer grades to buff out scratches and achieve a reflective polish.
Apply a fret polishing compound for that final sparkle. This attention to detail will leave your frets feeling slick and looking bright.
Refretting as a Last Resort
If frets are beyond repair with leveling, crowning, and polishing – perhaps too worn or damaged – then it’s time to think about refretting your guitar.
This involves removing the old frets and putting in new ones. It’s a complex job that requires special tools, so it might be wise to let a skilled luthier do it for you. Although refretting can be an investment, it rejuvenates your guitar, making it play and sound as if it’s brand new.
Regularly check your frets for signs of wear, like dents or a flat surface
The Importance of Neck Adjustment During Fretwork
Adjusting the Truss Rod
The truss rod is crucial for keeping your guitar’s neck stable. It balances the strings’ pull, helping to prevent the neck from bending.
If your truss rod is set right, you can dodge troubles like frets that seem too low or too high, prevent string buzz, and make your guitar easier to play.
Here’s how to tweak the truss rod:
1. Loosen up your guitar strings. This reduces the tension on the truss rod and makes it simpler to adjust;
2. Find where to adjust the truss rod. This could be at the headstock or near the body of the guitar. Grab the right wrench for your guitar model;
3. Your neck may need a bit more curve to fix low frets. Turn the truss rod to the left to add relief. Go easy, as even tiny turns can have a big impact.
Evaluating Neck Relief and Bow
Adjusting the truss rod and checking neck relief and bow are both key. A straight neck helps you avoid fret buzz, but a bit of a bow might be needed to keep low frets in check.
To check neck relief and bow, here’s what you do:
- Put a capo on the first fret. If a capo isn’t handy, just press down the low E string with your finger;
- While holding your guitar ready to play, push the low E string at the last fret;
- Now, measure the space: With the string held down, slide a feeler gauge or even a slip of paper under it at the eighth fret. A gap from 0.006 to 0.010 inches (0.15 to 0.25mm) is usually just right for most guitars.
By fine-tuning the truss rod and measuring neck relief and bow, your guitar will play smoothly, and you’ll sidestep issues with low frets.
DIY Fret Maintenance and When to Seek Professional Help
Simple Techniques for At-Home Fret Care
Maintaining your guitar frets is vital for keeping your instrument playing and sounding its best.
Home maintenance can be straightforward and keeps your frets in excellent shape. Regularly cleaning your frets is important to prevent grime buildup. Put a little cleaning solution for fretboards on a soft cloth and gently rub the frets and board. Also, remember to clean the strings.
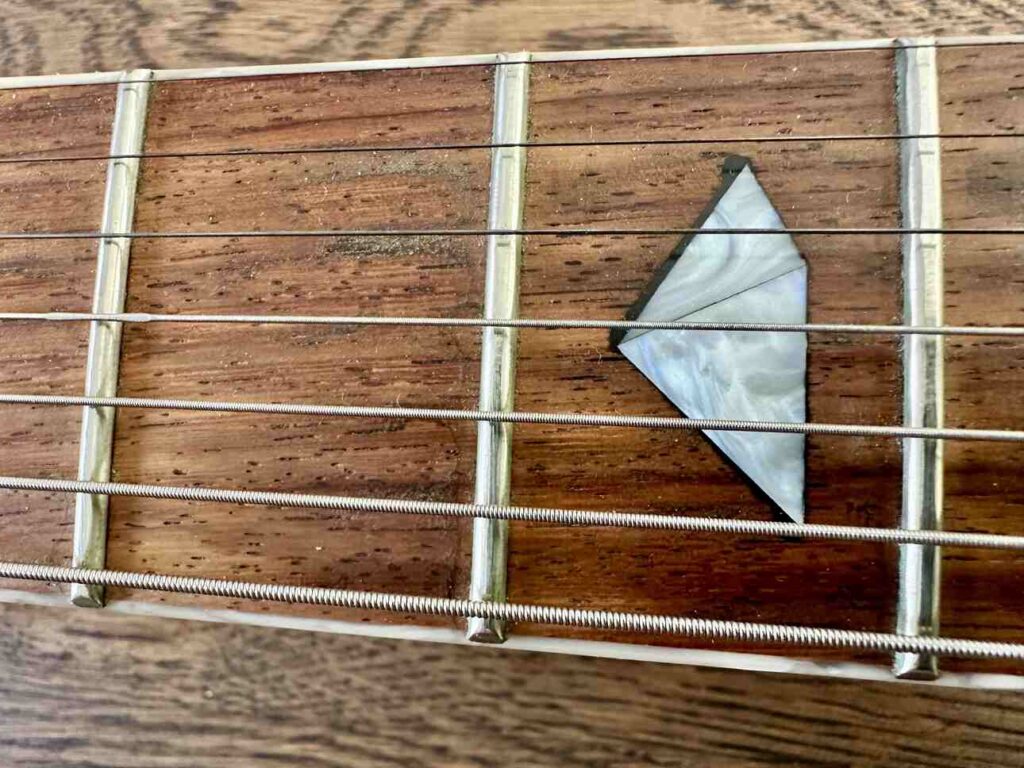
Keep an eye out for fretwear. Frets can get grooves or flatten out, mainly where you play the most. Check your frets for any unevenness or signs of wear to catch these issues.
When adjusting or maintaining your guitar, using a toolkit made for guitars is wise. Companies like Guitar Kit World often have a variety of toolkits that can assist with these tasks.
Identifying Situations That Need Expert Intervention
Sometimes, fret maintenance is a job for a professional, especially if fret issues affect how your guitar plays or sounds.
- If you’re experiencing fret buzz on certain notes, it could be a sign of frets that are too low or not aligned correctly. A pro can file and level the frets to correct this;
- For frets that are really worn or damaged, you might need to get them replaced;
- If your guitar neck is warped or twisted, it’s definitely time to call an expert who can adjust or fix the truss rod properly.
Ensuring Optimal Intonation and Playability
Setting Up Your Guitar Post-Fretwork
After working on your guitar’s frets, follow these steps to ensure it plays and sounds great:
- Check the neck for any leftover issues like fret buzz or uneven frets, and fix them if needed;
- Tweak the action to your liking by adjusting the bridge, truss rod, and string height at the nut;
- Ensure proper intonation for all strings and frets with an electronic tuner;
- Polish the frets to get rid of dirt or rust.
While lower action might make playing easier, it can also cause more fret noise.
Maintaining Fret Condition for Consistent Performance
It’s good to have a regular maintenance routine for optimal guitar performance. Here are some tips for taking care of your frets:
- After playing, clean your guitar to stop dirt from affecting the frets and strings;
- Regularly check your frets for wear or any unevenness. If you spot problems, get a pro to take a look;
- If your frets get worn, consider getting a fret dressing. This process evens out and smooths the frets, making your guitar easier to play;
- When you’re not playing, keep your guitar in a case or on a stand to help the frets last longer and avoid neck warping.
Frequently Asked Questions
How can I measure and ensure adequate fret height for optimal playability?
To get precise fret height measurements for good playability, use a straight edge to check the neck’s flatness. Also use a fret rocker to spot uneven frets. Feeler gauges help confirm consistent fret height. Keep frets at a height that suits your playing style.
What tools are needed for fret crowning to address low fret issues?
Essential tools for fret crowning include a fret crowning file to reshape fret tops, a fret leveling file to even out height, and wet/dry sandpaper for finishing touches.
What are the methods to raise frets that have become too low over time?
Raising too-low frets can be a quick fix with a small hammer to tap them back in place or a more lasting solution like refretting. This involves replacing old frets with new ones.
At what point is a fret considered too low, necessitating a refretting?
Frets are too low when they cause a buzz, affect playability, or hurt intonation. If there’s not enough material to recrown after leveling, refretting is the next step.
How can uneven fret height be fixed for a smoother playing experience?
For uneven frets, level them first, then crown and polish. This ensures even height, eliminates buzz and maintains intonation.